How to install Boei on Webflow
You can install Boei effortlessly on your Webflow site, and you won't even need a developer.
Just grab a cup of coffee ☕️, and you can do the installation in 5-mins yourself.
Step 1. Create an account
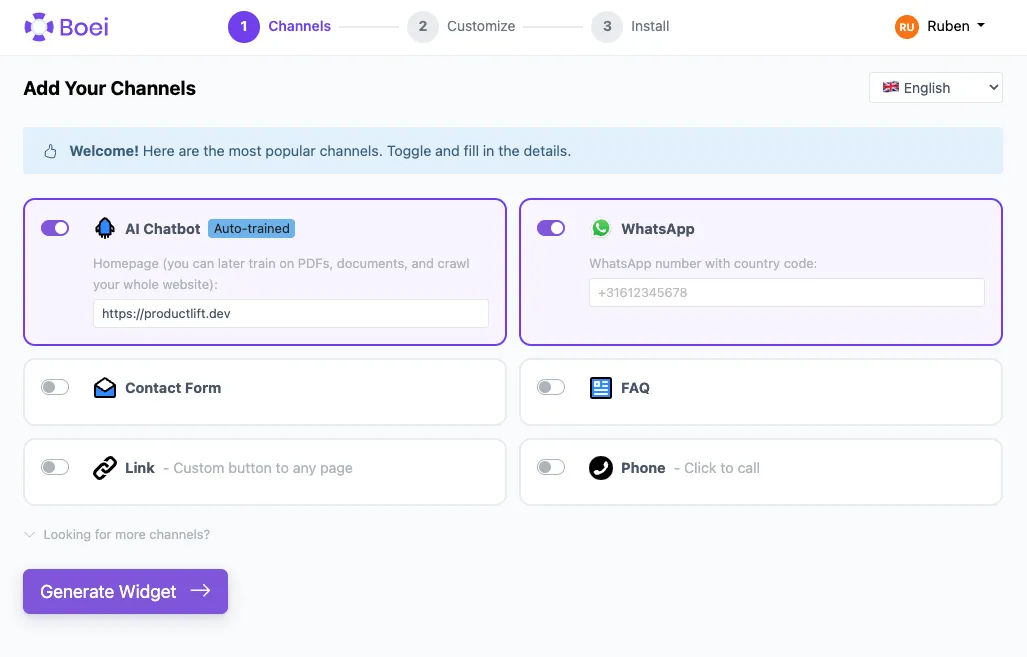
Create a Boei account if you don't have one yet. The onboarding will guide you through selecting channels, choosing a theme, and positioning your widget.
Step 2. Copy installation code
In your Boei dashboard, open your widget and click the Install tab. Select Webflow and copy the installation code.
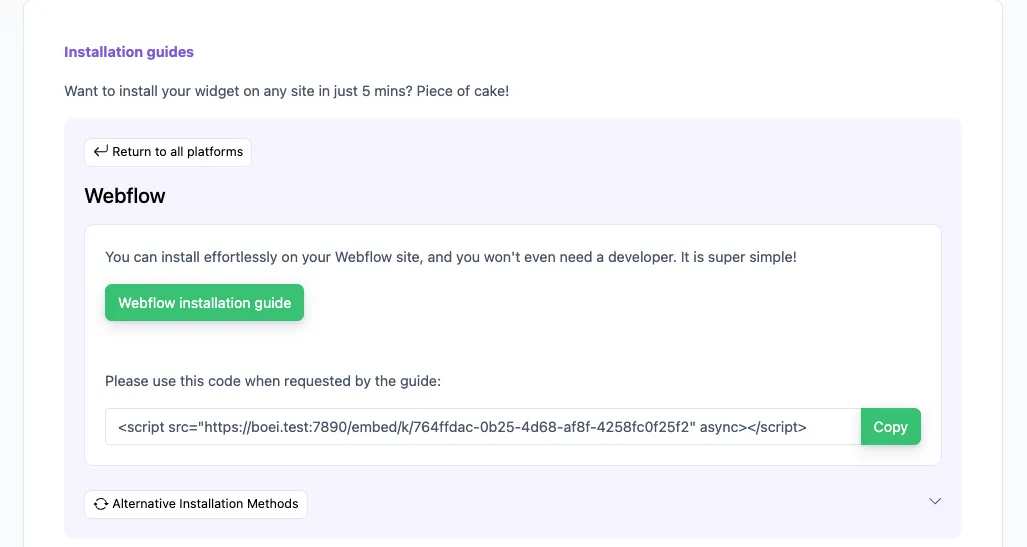
Tip: The Install tab also offers a landing page link, QR code, and iframe embed.
Step 3. Go to Webflow
- Log in to your Webflow account and open your dashboard.
- Go to Settings of your site by clicking the dots on the right bottom.
- Click Custom Code.
- Paste the Boei code from step 2 in the Footer code area. If there is already some code there, paste the Boei code below that.
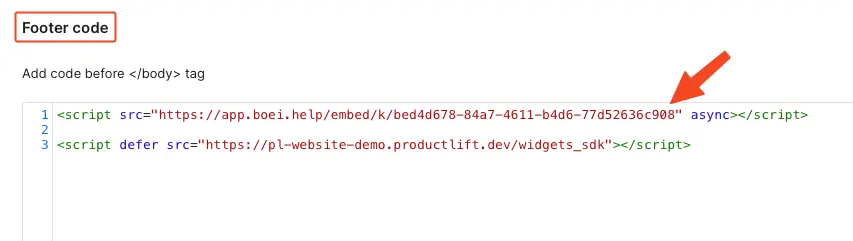
Click Save and then Publish to see the changes on your live site.
![]()

Congrats, you are done!
- Install on AdPage
- Install on Adobe Muse
- Install on BigCommerce
- Install on Blogger
- Install on carrd
- Install on Divi
- Install on Drupal
- Install on Ecwid
- Install on Elementor
- Install on Framer
- Install on Ghost
- Install on Google Tag Manager
- Install on HTML
- Install on Hostinger
- Install on Jimdo
- Install on Joomla
- Install on JouwWeb
- Install on Kajabi
- Install on Lightspeed
- Install on Magento
- Install on OpenCart
- Install on Phoenix
- Install on Prestashop
- Install on Shopify
- Install on Squarespace
- Install on Strato
- Install on Tilda
- Install on Umbraco
- Install on Webflow
- Install on Webnode
- Install on Weebly
- Install on Wix
- Install on WordPress
- Other