Creating Your First AI Chatbot Agent
This guide will walk you through the process of creating your first AI agent using our platform. Follow these steps to get started and enhance your website's ability to engage visitors and capture leads.
How to get there: Go to Setup → Chatbot in the top menu → click Create Chatbot.
Step 1: Access the AI Agent Feature
-
Navigate to the Boei Interface: Log into your Boei account.
-
Click on the AI Agent Button: Located at the top of the interface, this button is your starting point for creating an AI agent.
Step 2: Generate Your Bot
-
Click on Generate Bot: This option allows you to start creating your agent.
-
Enter Bot Description and Language:
-
Bot Description: Type in a brief description of your agent's purpose.
-
Default Language: Select the language you want the agent to use by default.
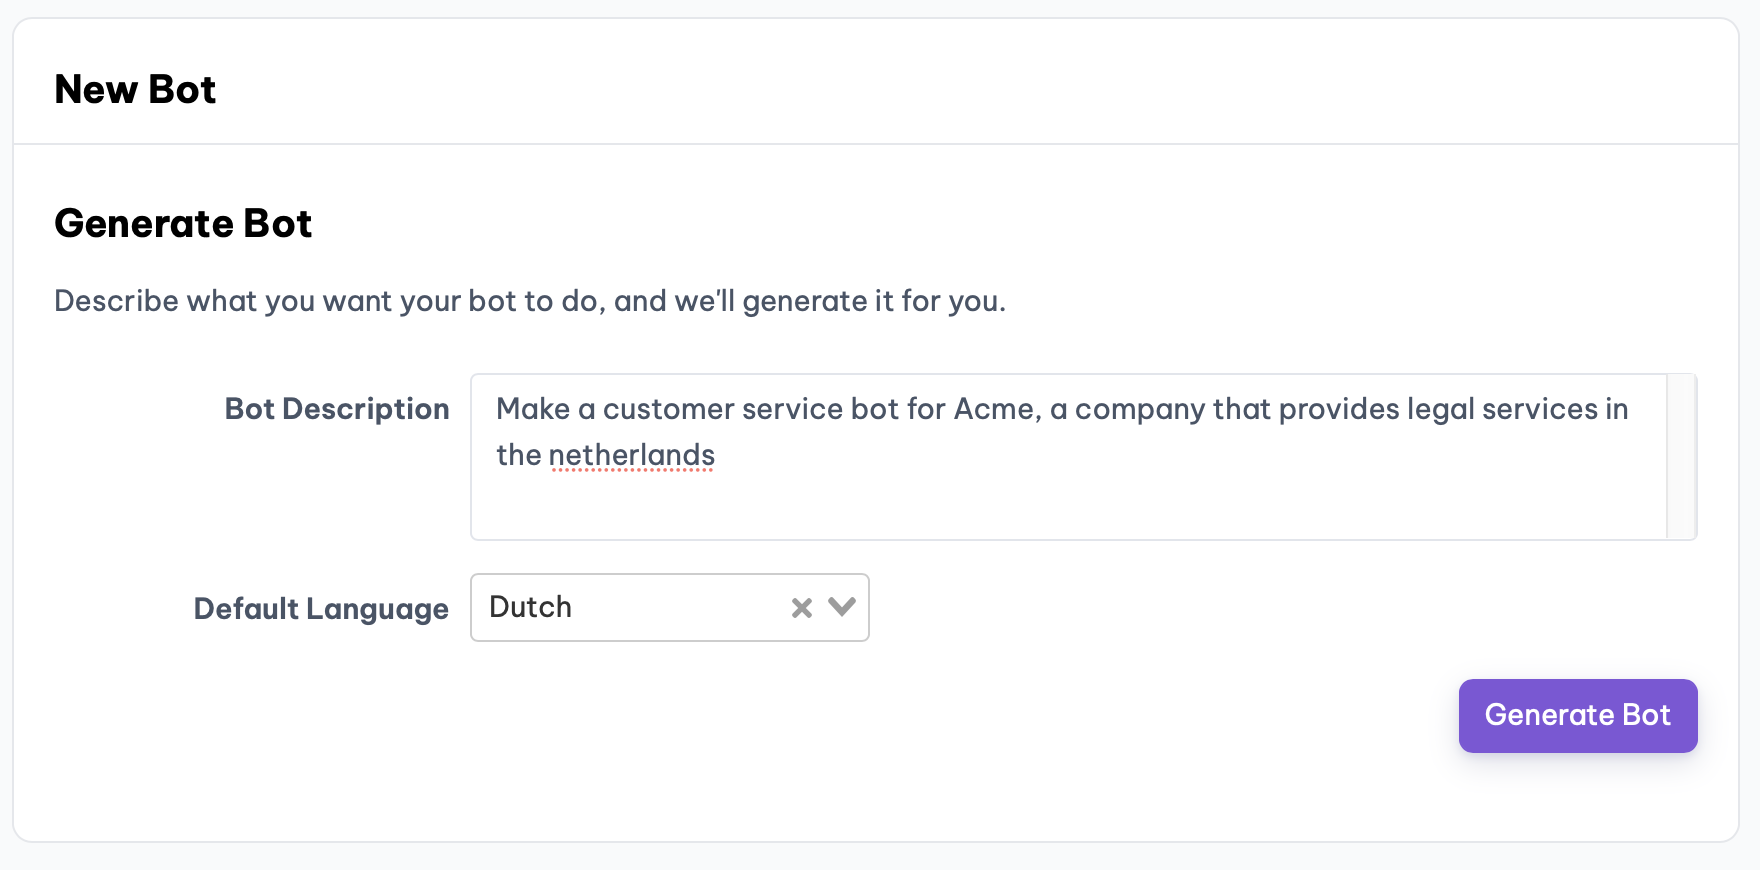
- Click on Generate Bot Again: This will initiate the agent creation process, which takes only a few seconds.
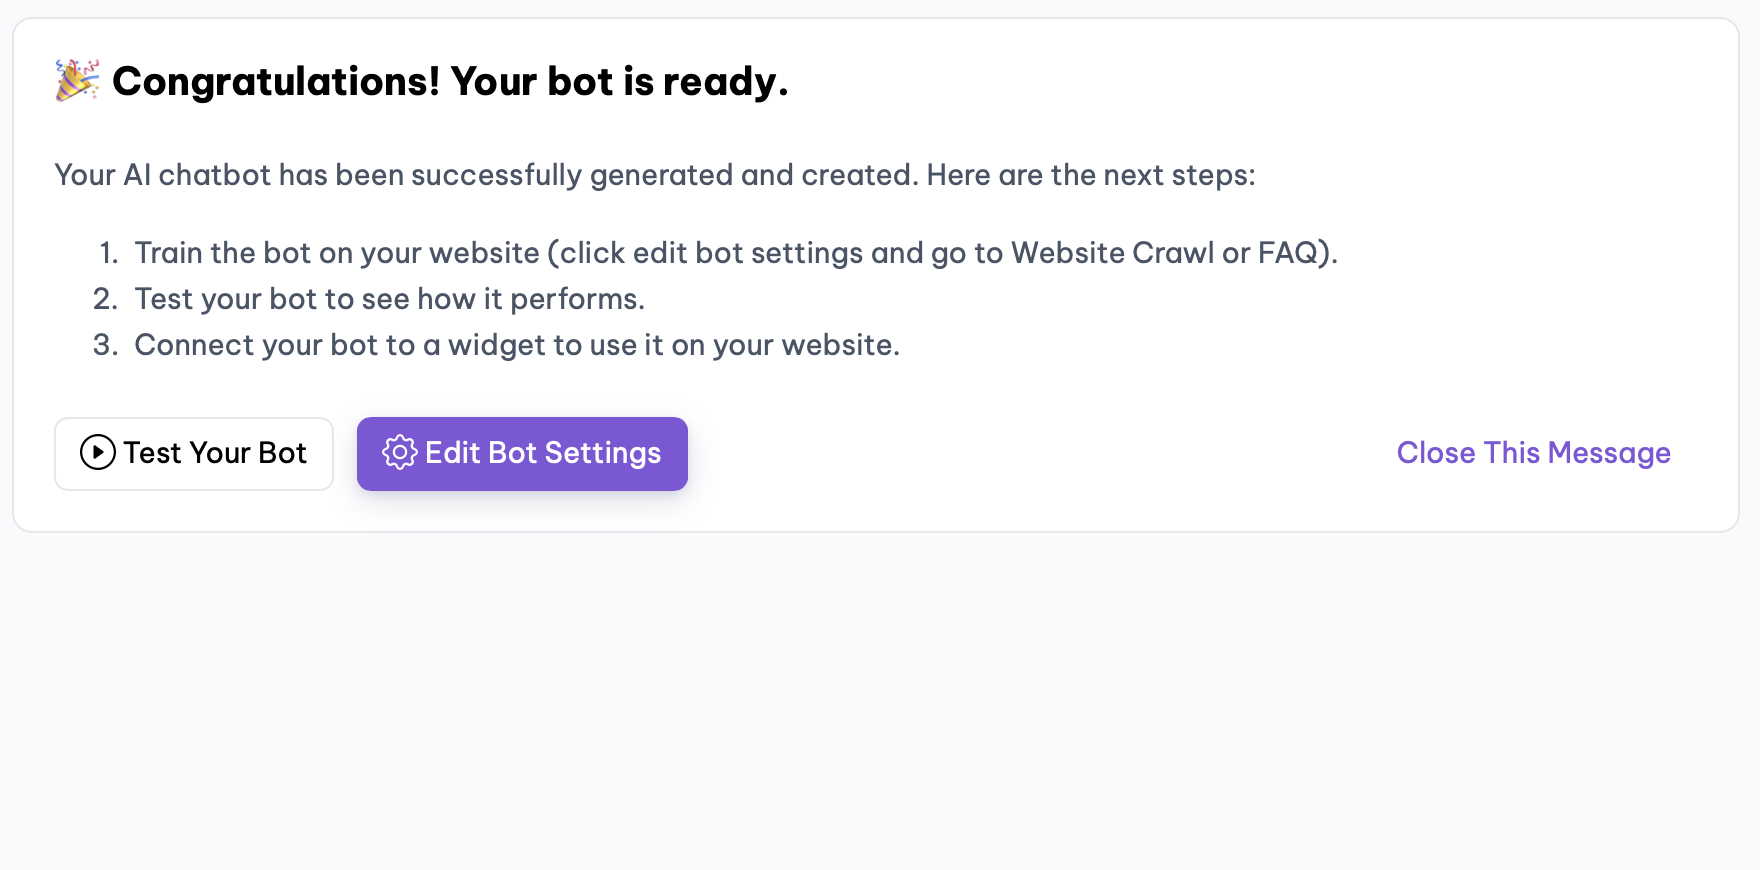
Step 3: Customize Your Bot Settings
-
Edit Your Bot: After generation, you have two options: test or edit. Click on Edit to access further settings.
-
Bot Settings:
-
Opening Message: Craft a welcoming message for users.
-
Input Placeholder: Define what users will see in the input field.
-
Auto Translation: Enable this to automatically translate the interface based on the user's language.
- Quick Buttons: Set up conversation starters to engage users effectively
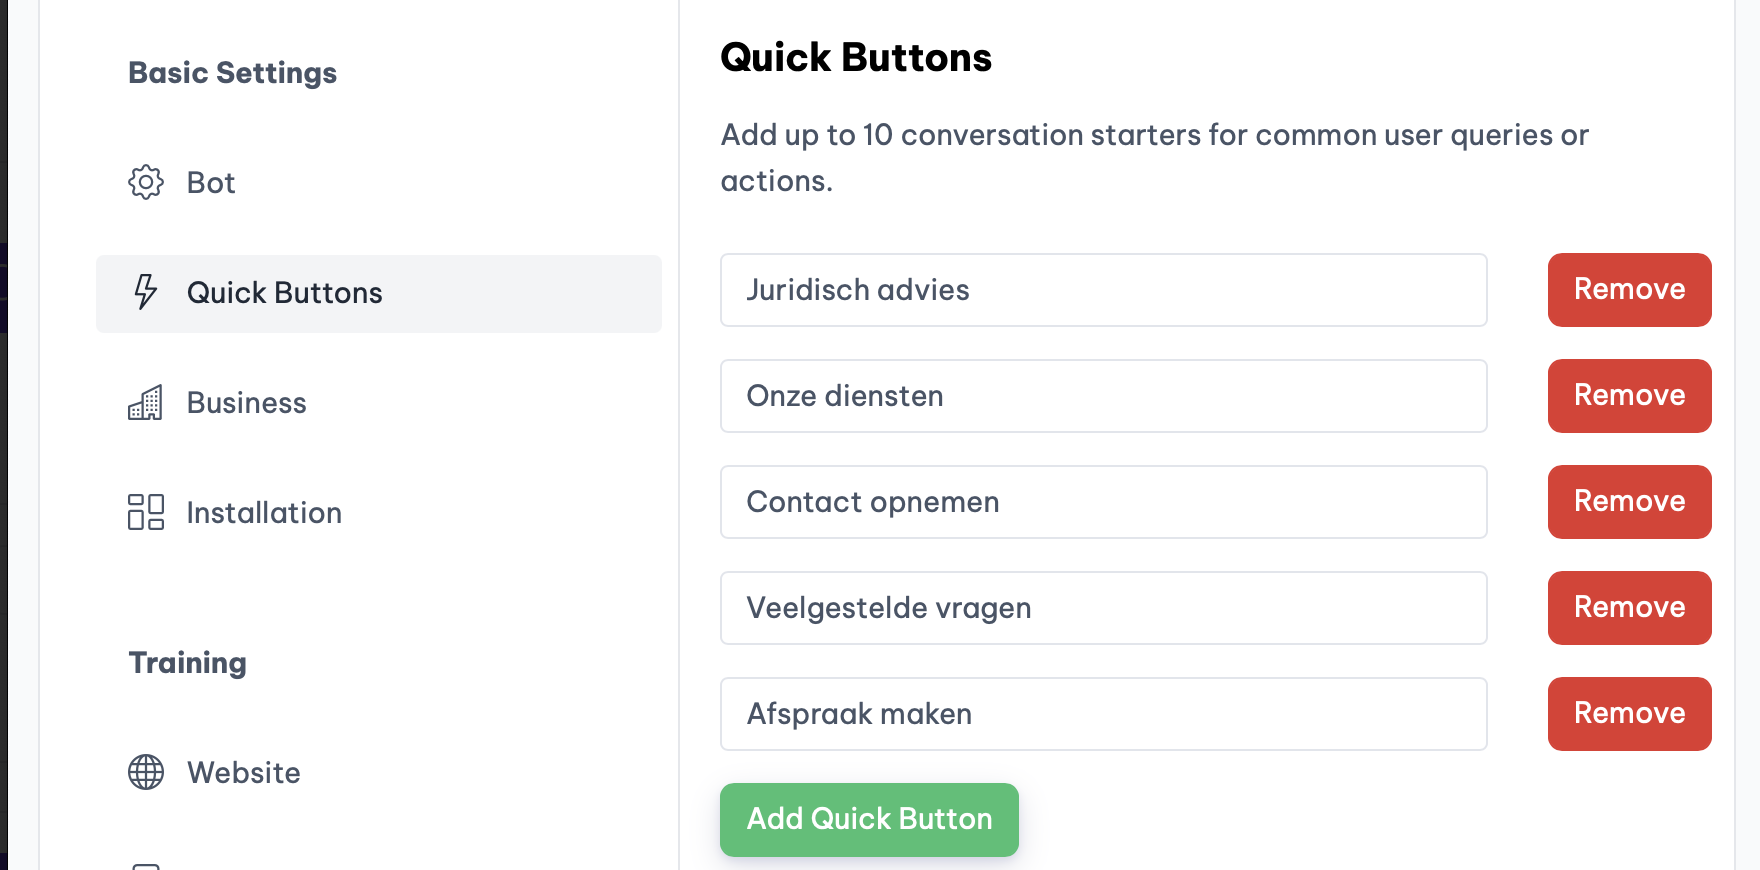 .
.
- Business Settings: These are typically pre-configured, but you can customize them if needed.
Step 4: Train Your Bot
-
Select Training Options: Choose from website training, text training, PDF training, or Q&A.
-
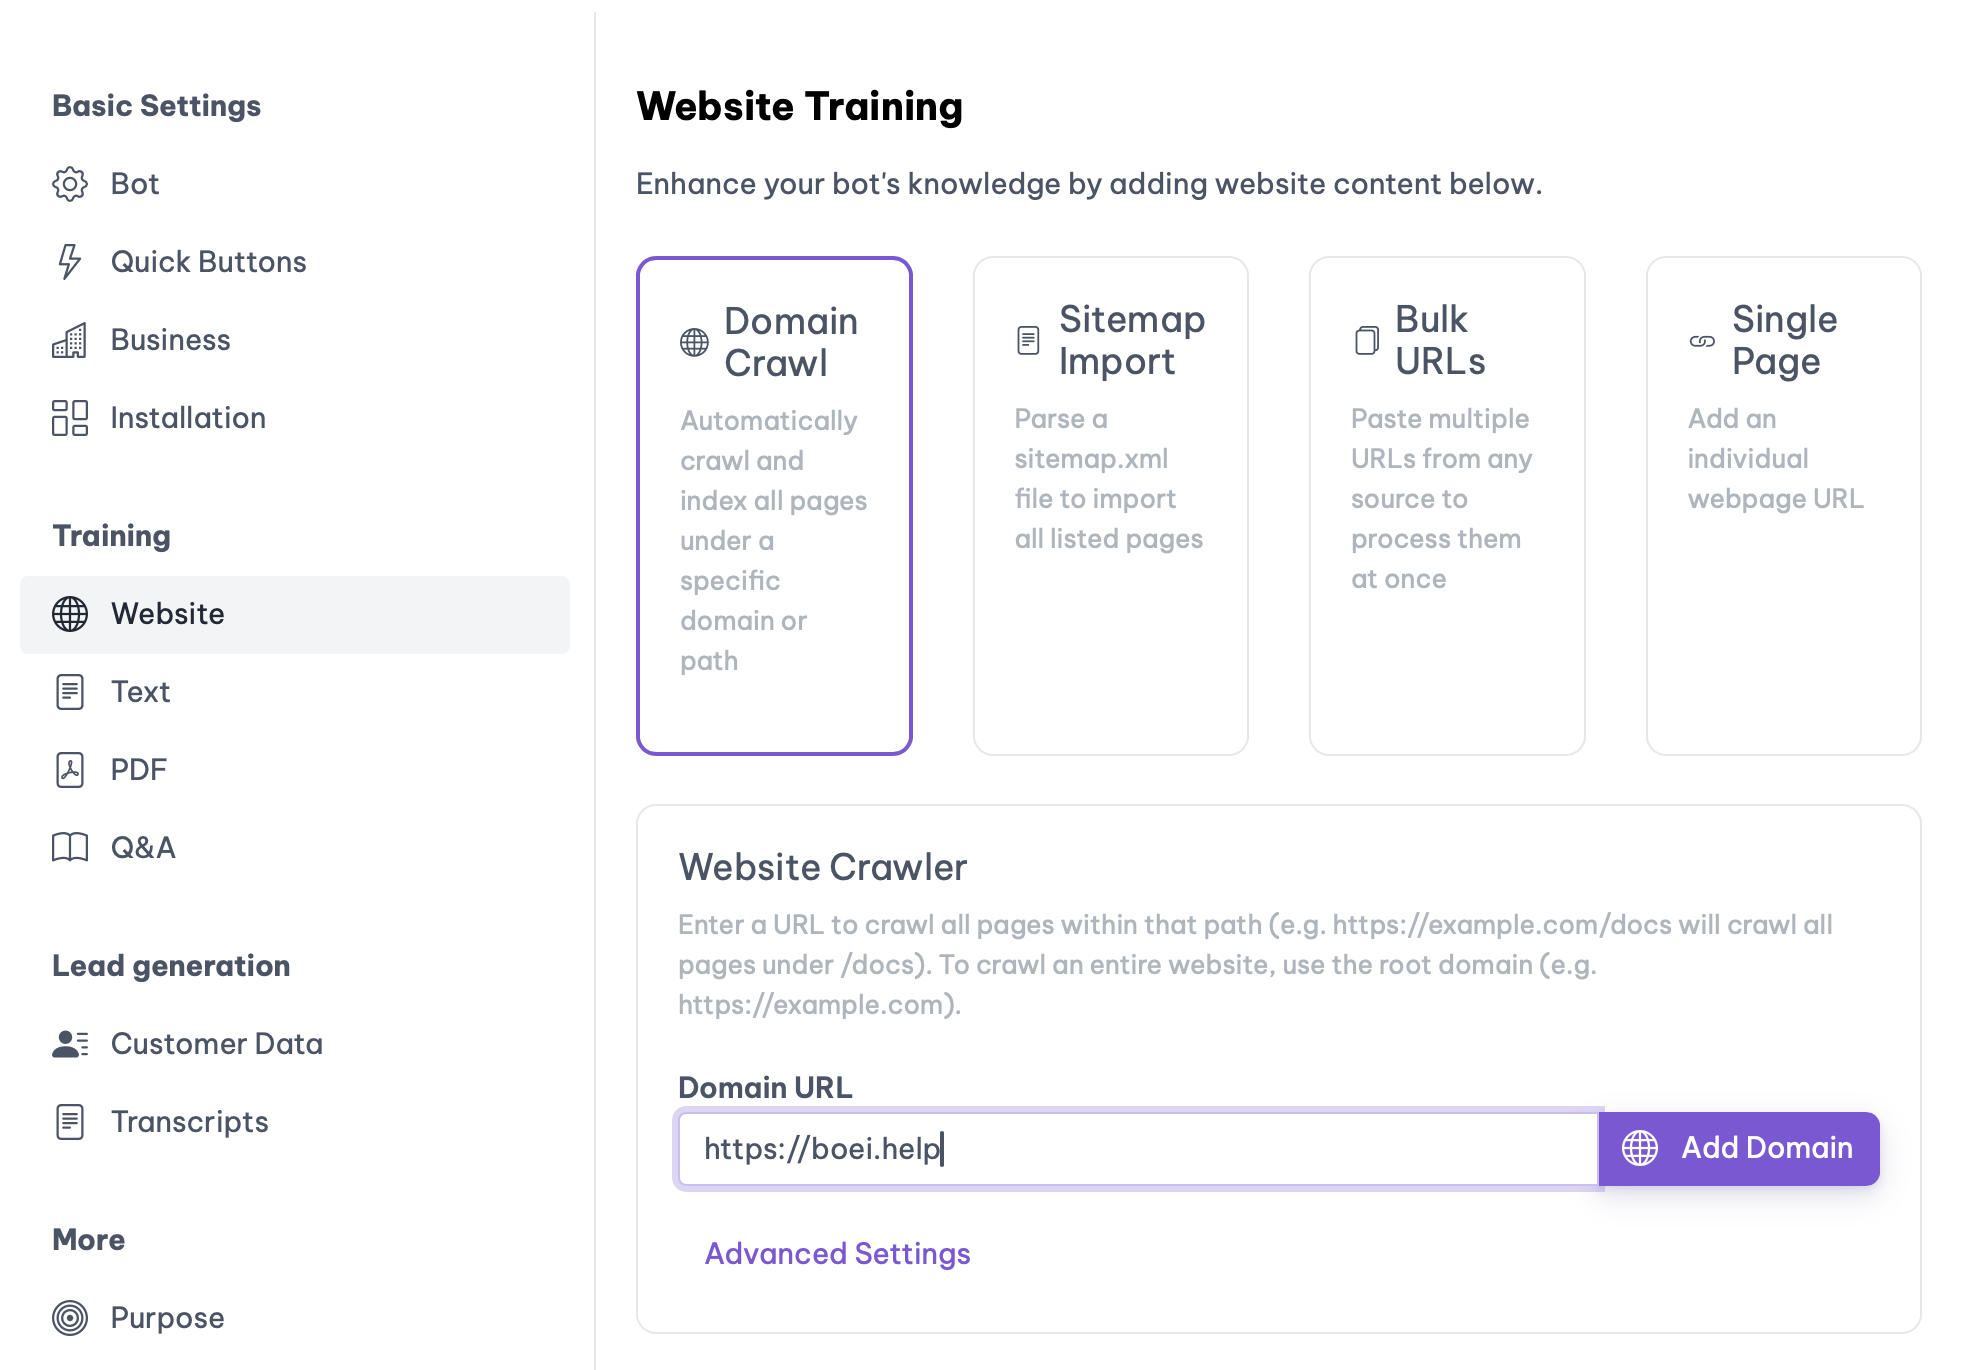
Website Training Options:
-
Domain Crawl: Discover all pages on your website.
-
Sitemap Import: Quickly import pages listed in your sitemap.
-
Build URLs: Specify text or links for targeted training.
-
Single Page: Focus on training a specific page.
- Add Your Domain: Enter the domain and click on add. The system will crawl and train the selected pages.
-
Free Plan Limits: 10 training pages and 100 crawling pages.
-
Paid Plan Limits: 1,000 training pages and 5,000 crawling pages.
It will take a few seconds to load the pages of your site.
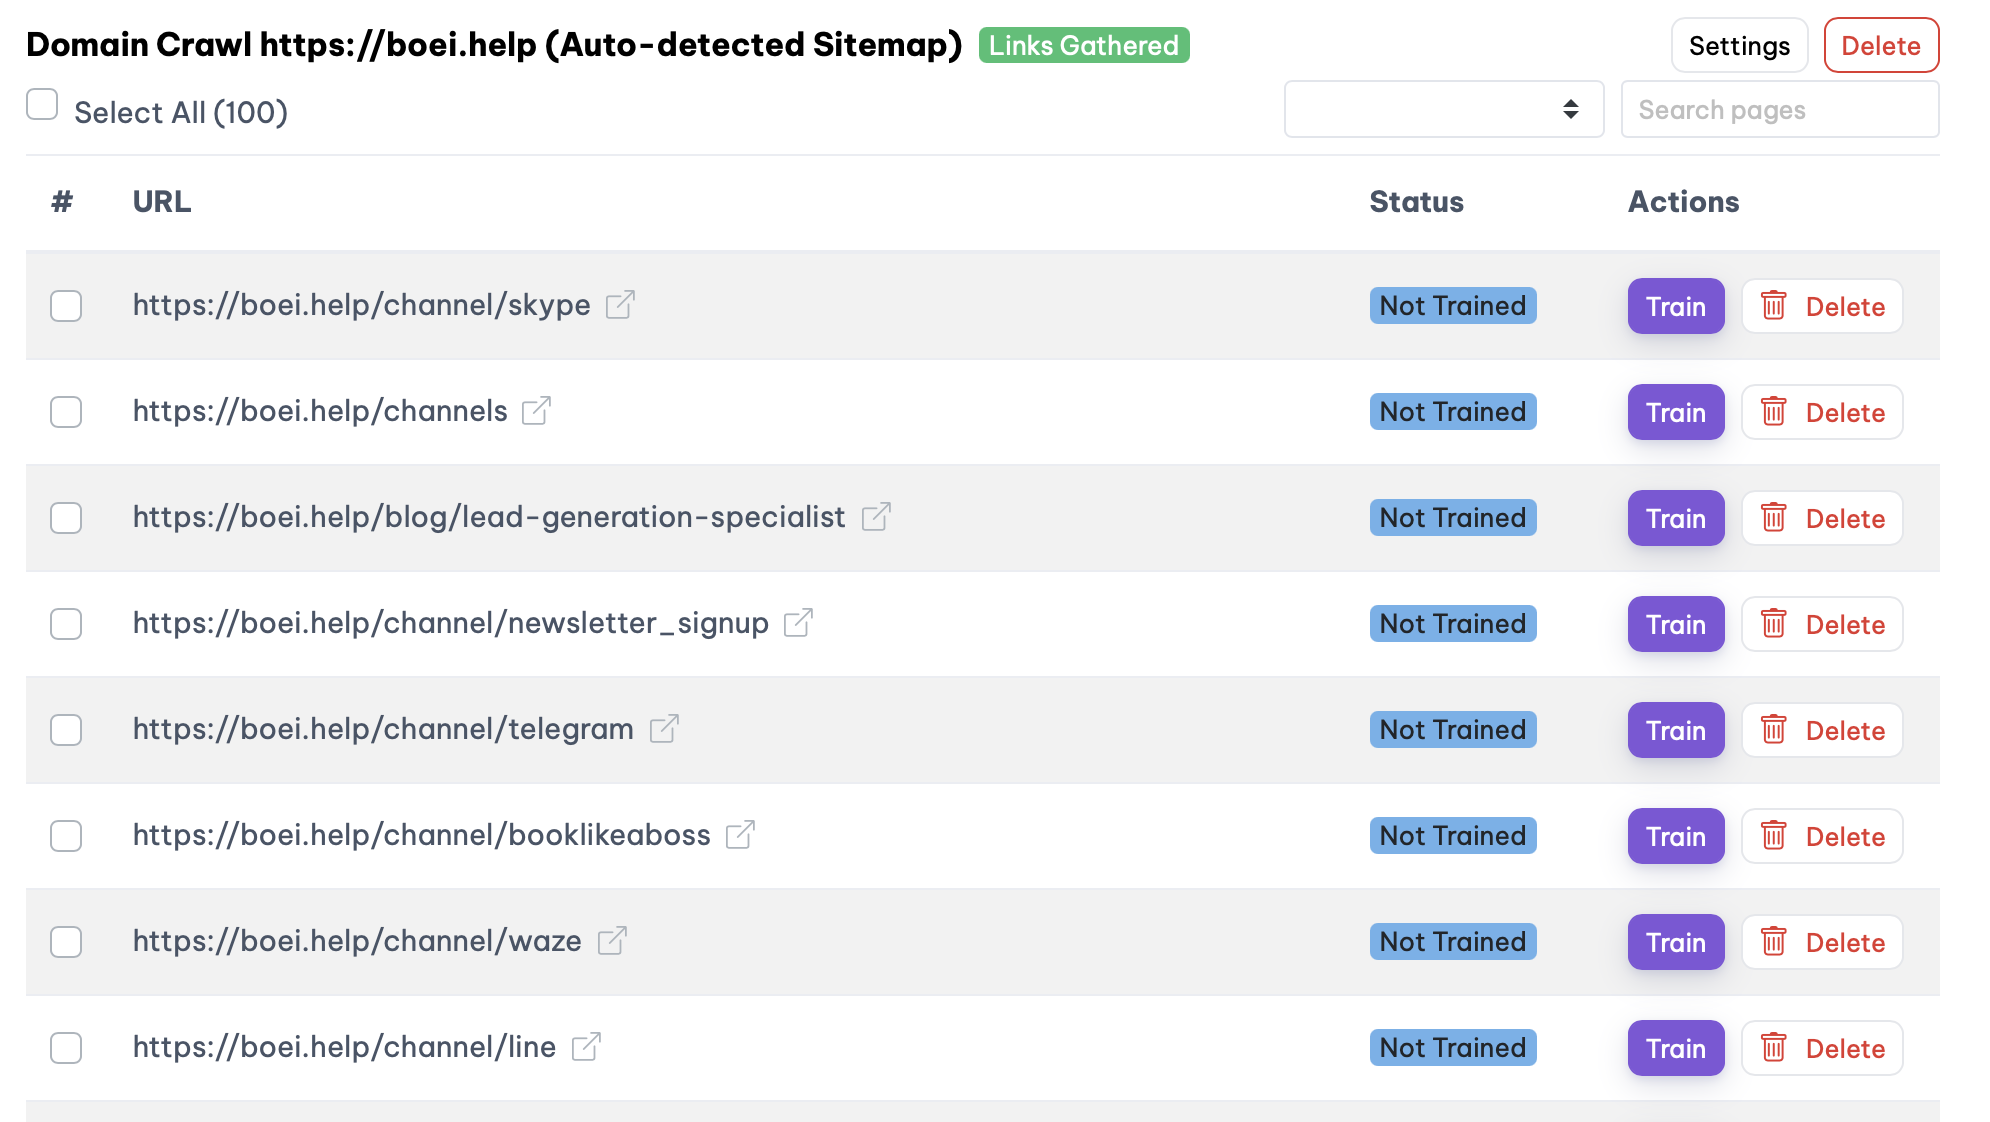
Choose the ones you want the agent to be trained on by clicking on "Train".
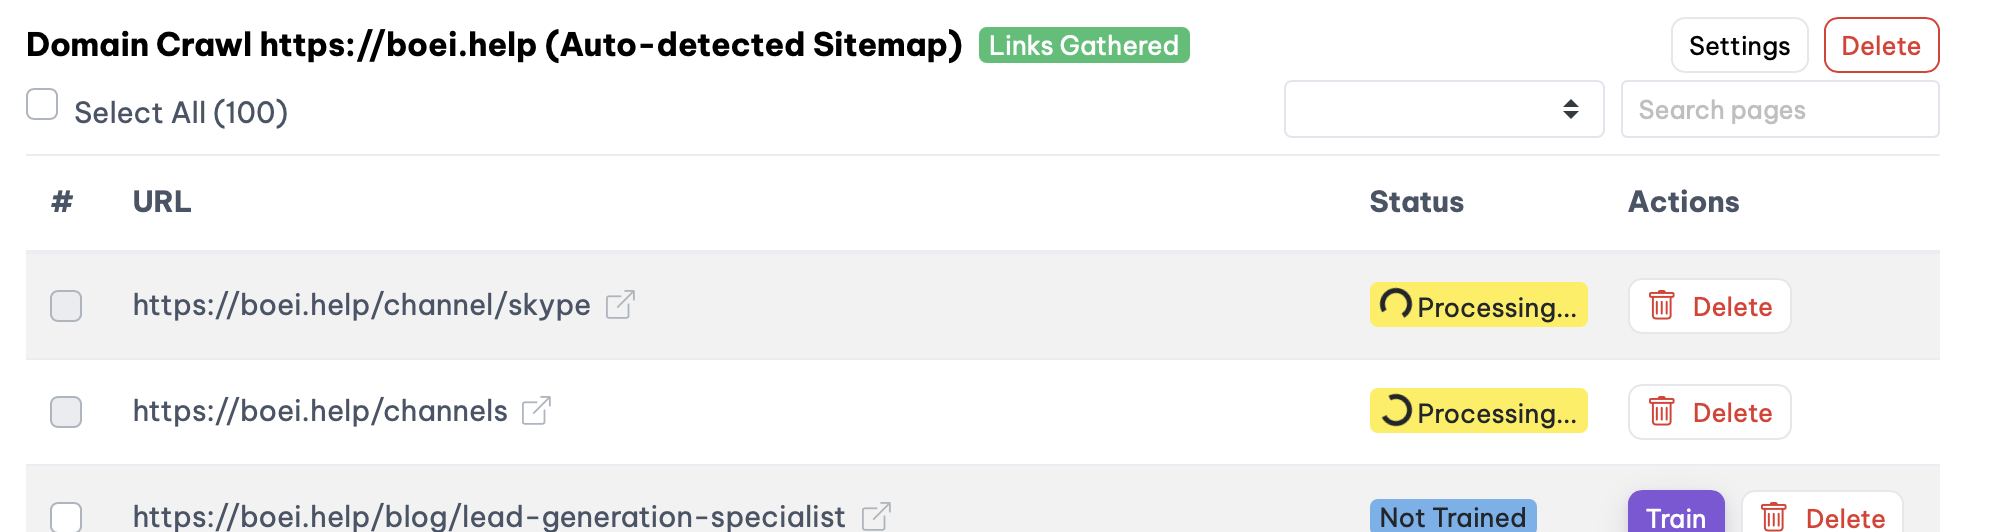
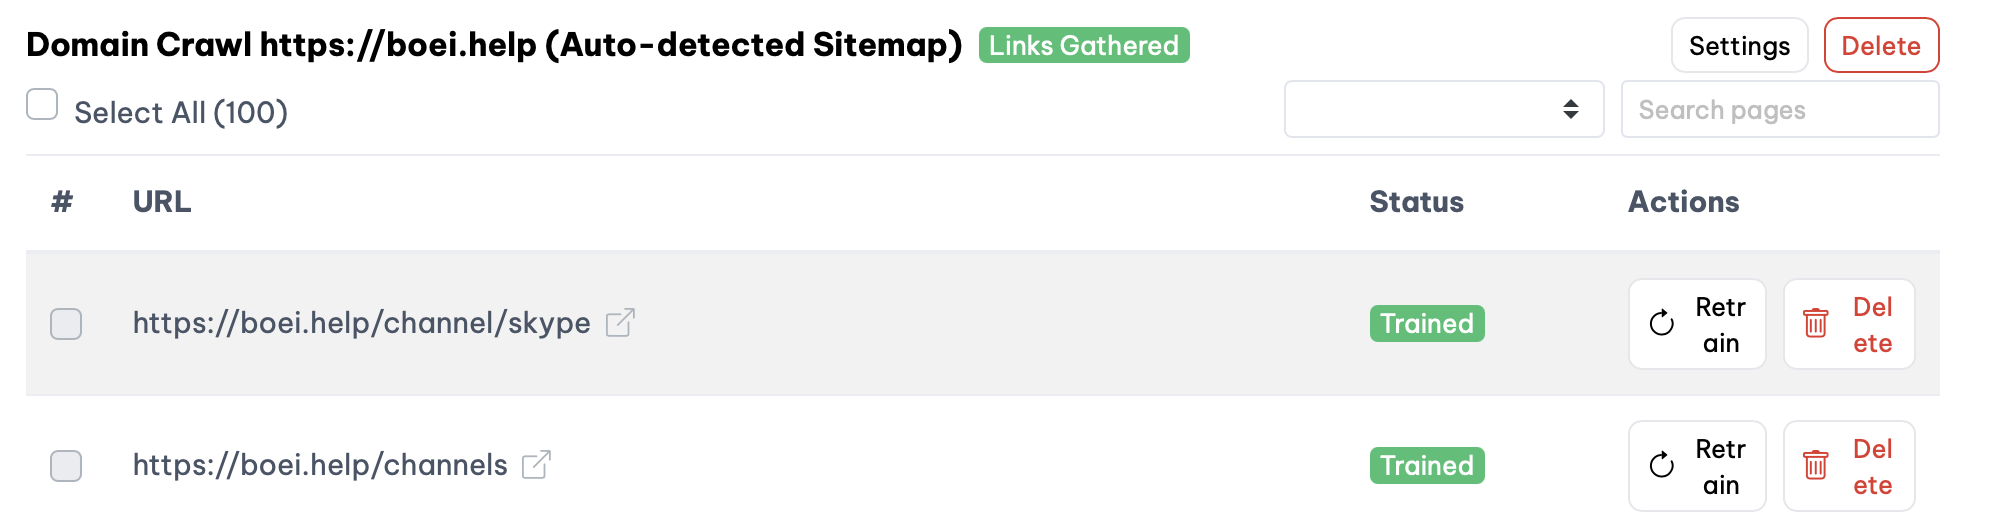
Then after a minute you will see the pages on green which means that the agent learned them.
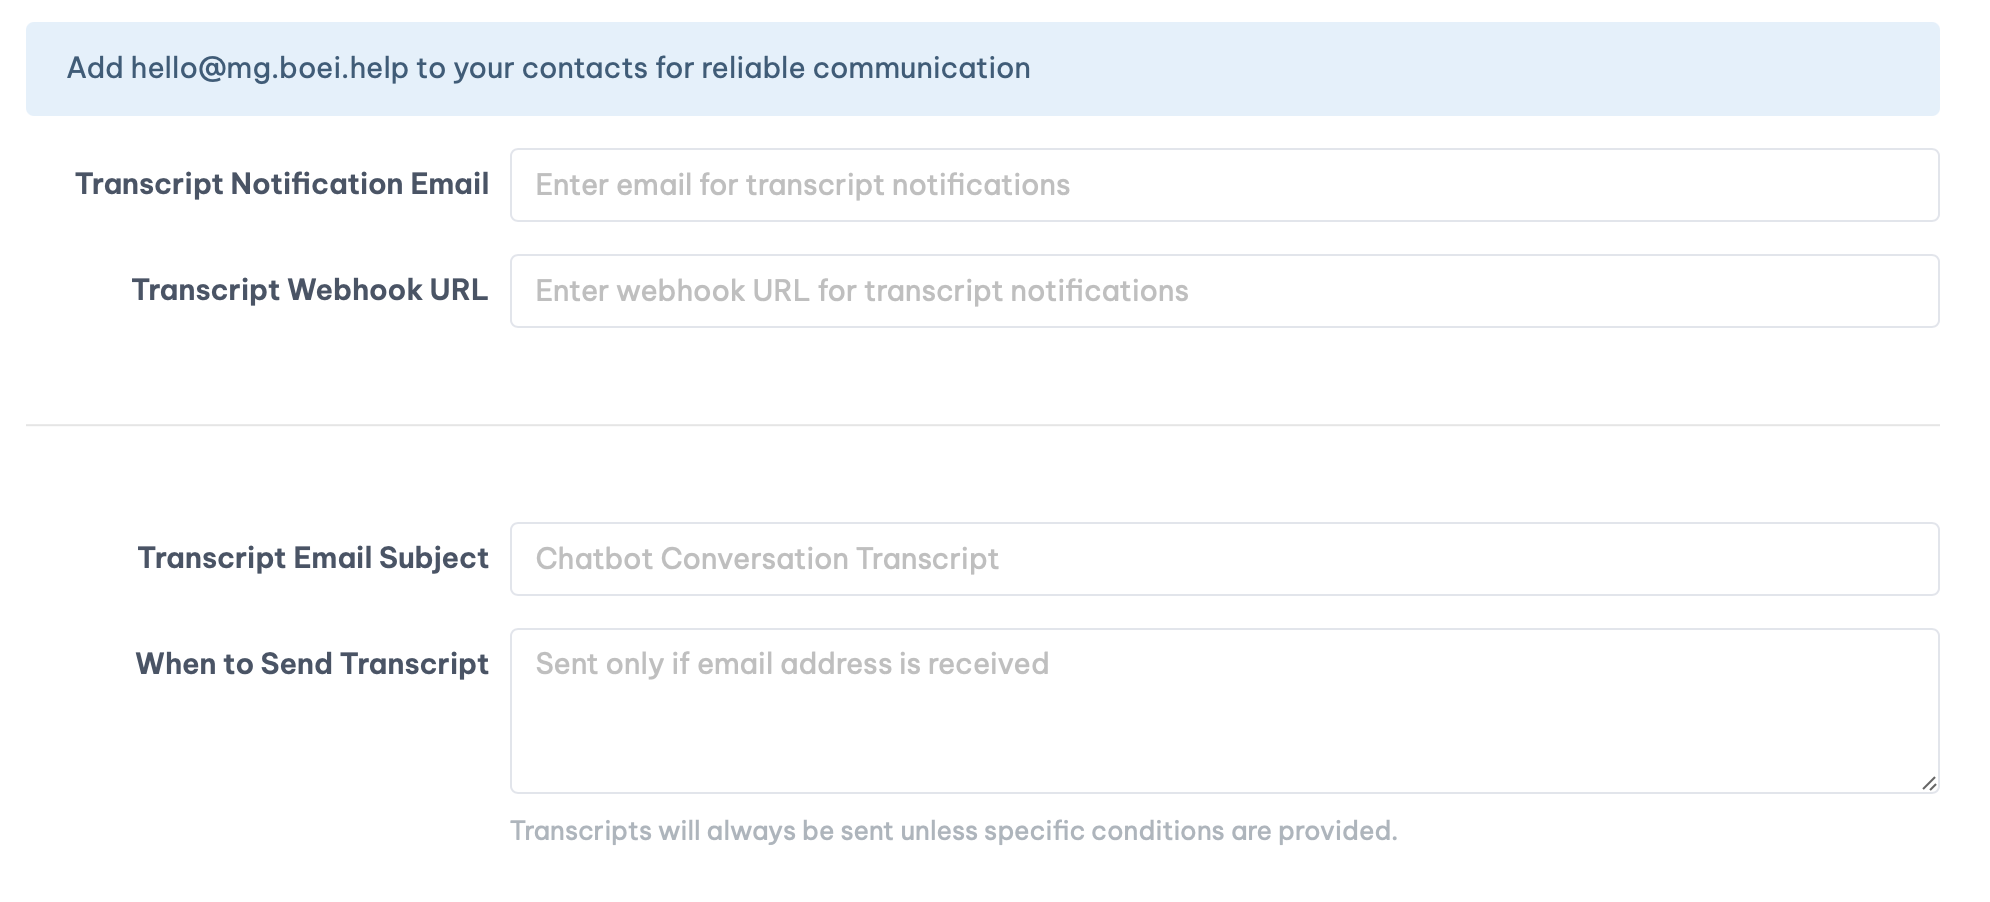
Step 5: Configure Customer Data and Transcripts
-
Enable Customer Data Fields: Use these for lead generation by collecting user information.
-
Transcripts:
-
Notification Email or Webhook URL: Receive transcripts automatically.
-
Define Conditions: Specify when to send transcripts, e.g., after an email is provided.
Step 6: Test and Install Your Bot
- Test Your Bot: Use the test button at the top of the page to ensure everything works smoothly.

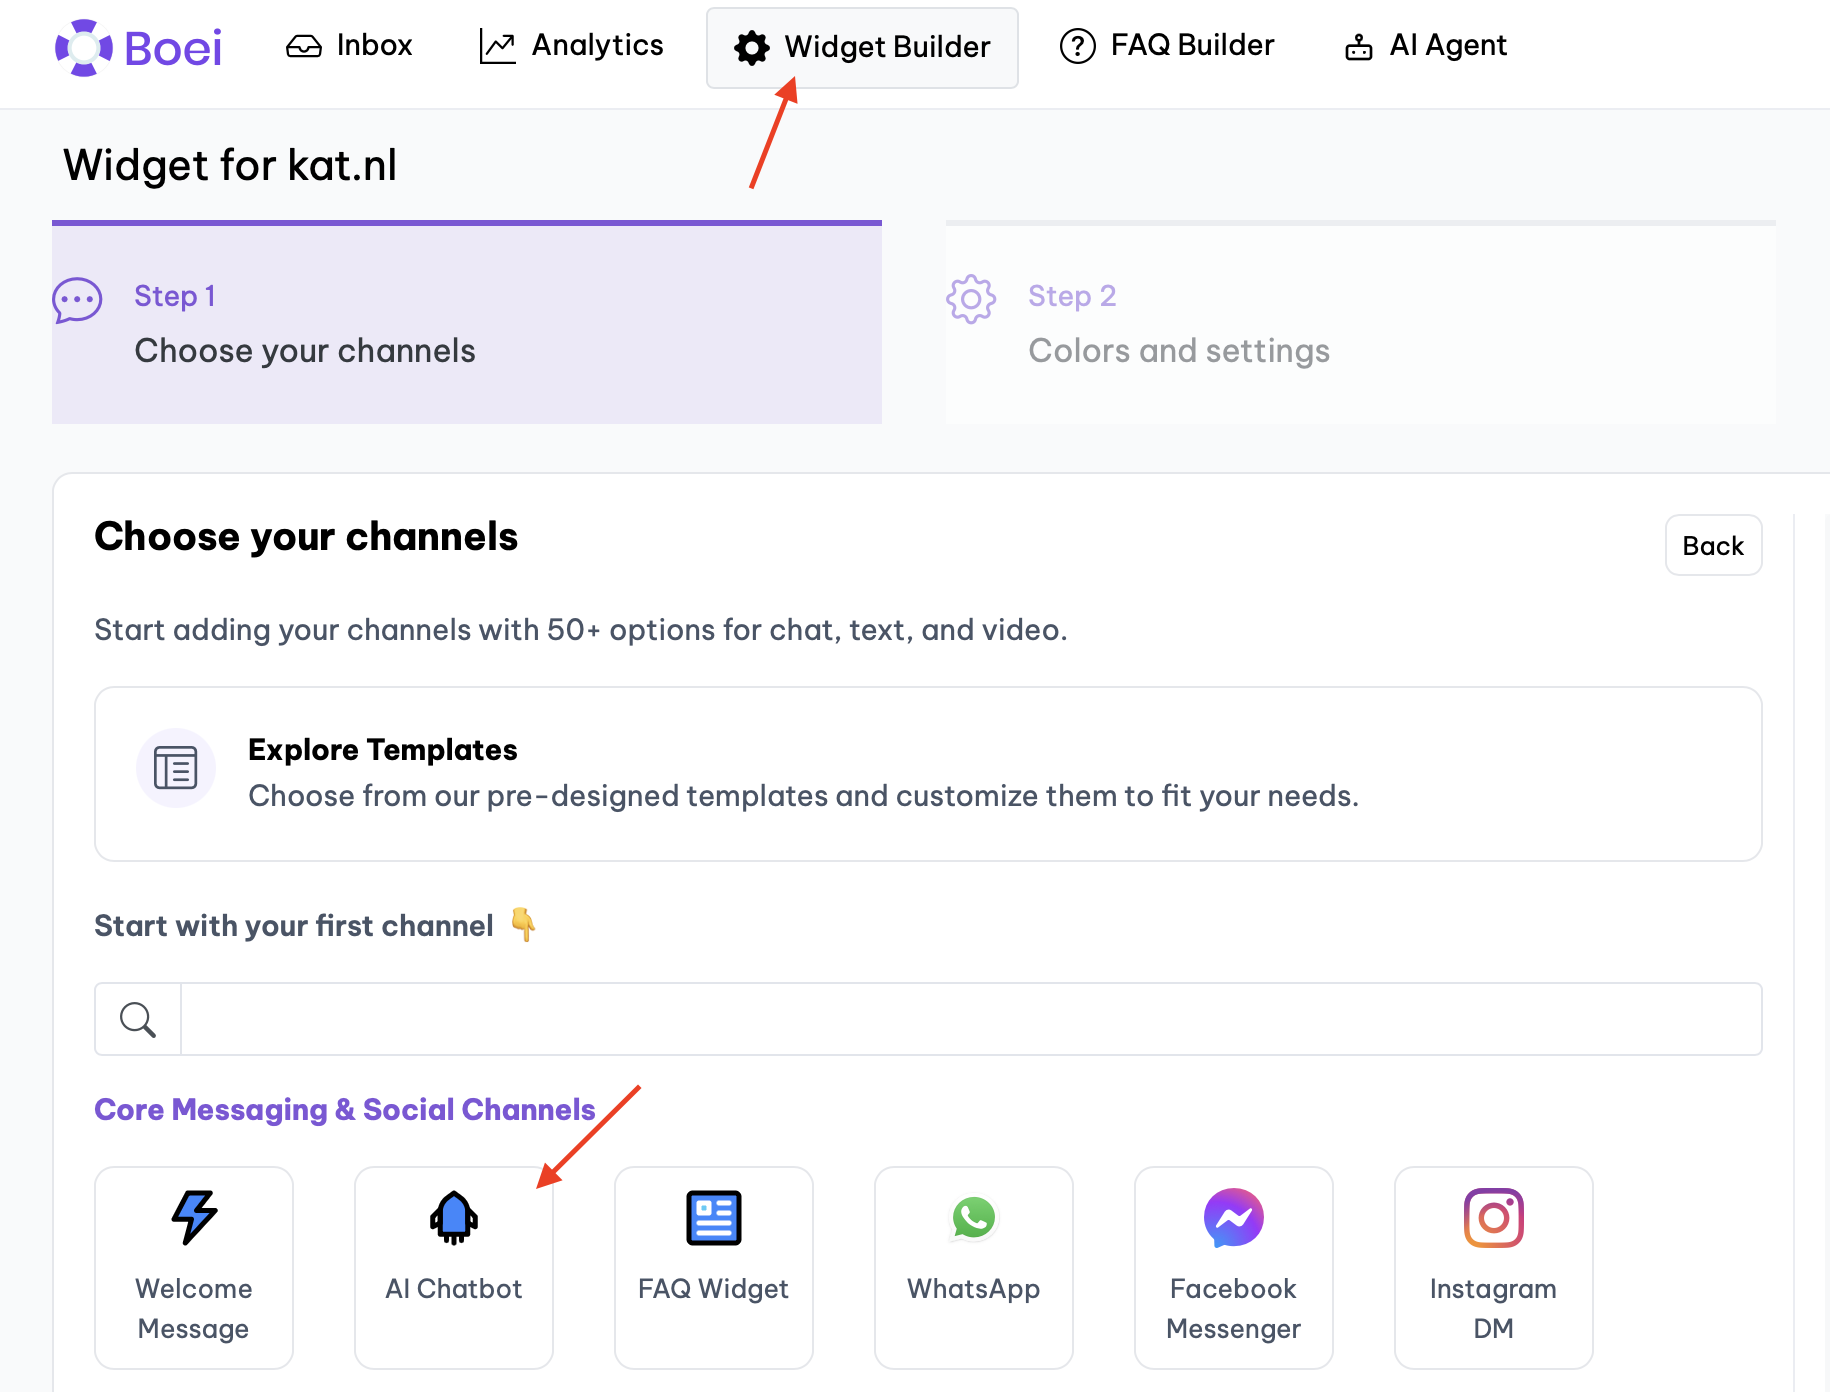
- Install the Widget:
-
Click on the Widget Builder: Located at the top of the interface. Click the widget for your website you want to install the agent on.
-
Select AI Agent: Choose the agent you just created.
-
Finish Installation: Click on step 3 to complete the installation on your website.
Conclusion
By following these steps, you can create and deploy a highly effective AI agent on your website. While there are many more settings and options available, this guide provides the essential steps to get you started on enhancing user engagement and capturing leads effectively.
For further customization and advanced features, explore the additional settings available in your Boei account. Happy bot building!